

Setting up a turntable might seem intimidating at first, but it’s easier than you think. Before getting started, check out our guide on the basic parts of a turntable to understand key components. With the right setup, you’ll enjoy warm, rich sound while keeping your records and stylus in great shape. Whether you’re setting up a new turntable or reviving an old one, this step-by-step guide makes the process simple. Follow along, and you’ll be spinning records like a pro in no time!
Step 1: Choosing the Right Surface
- Your turntable needs a stable, level surface to perform well. A wobbly or uneven surface can cause tracking issues and distort the sound. If necessary, use a bubble level to check and adjust.
- If you’re placing your turntable on a wooden table, ensure it’s sturdy and doesn’t vibrate easily. For extra stability, consider placing isolation pads under the feet of the turntable to minimize vibrations from the floor. Some audiophiles even opt for wall-mounted shelves to keep their turntables isolated from external movement.
Step 2: Position Your Turntable Properly
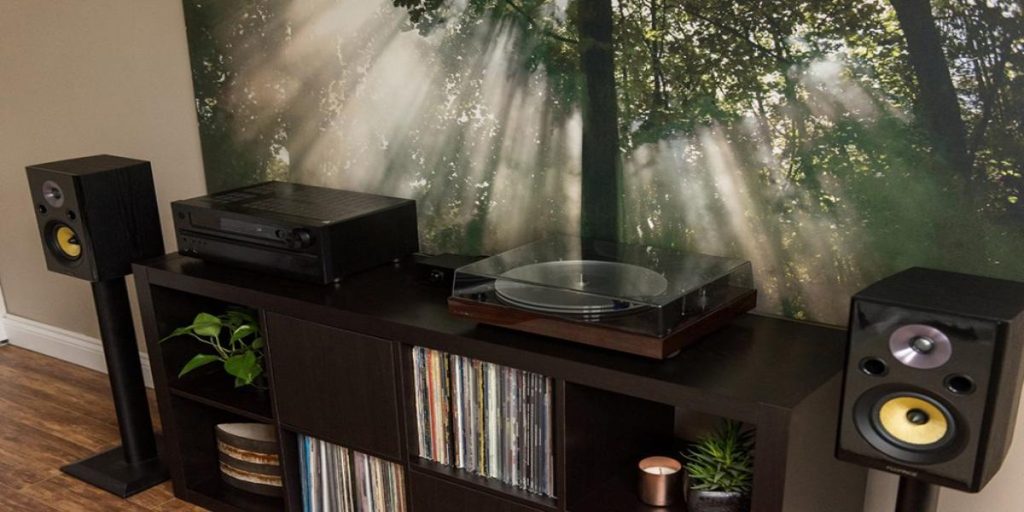
- Keep it away from speakers to prevent vibrations from affecting playback. If the turntable is too close to your speakers, the bass vibrations can cause the stylus to skip, especially at higher volumes.
- Avoid placing it near heat sources or direct sunlight, as this can warp records. Over time, excessive heat exposure can also damage the turntable’s motor components.
- Place it where the tonearm has room to move freely without any obstructions. If the tonearm is hindered, it might not track properly, causing skips or distortions in sound.
- Consider investing in a turntable dust cover to protect your equipment from dust buildup when not in use if your turntable did not come with one.
Step 3: Set Up the Platter and Belt (If Needed)
- If your turntable uses a belt-drive system, place the belt around the platter and motor pulley as instructed. If the belt is too loose or tight, it may need replacement for optimal performance.
- Direct-drive turntables don’t require this step—just make sure the platter is securely in place.
- If the platter is removable, check that it sits flush and isn’t wobbly when spinning. A loose platter can cause uneven speed, affecting sound quality.
Step 4: Balance the Tonearm and Set Tracking Force
This step ensures the stylus applies the correct pressure to your records, preventing excess wear and damage.
- Set the counterweight to zero (so the tonearm floats).
- Adjust the counterweight until the tonearm is balanced.
- Dial in the recommended tracking force (usually between 1.5g – 2.5g for most cartridges; check your turntable’s manual).
- If your turntable has an adjustable vertical tracking angle (VTA), ensure the tonearm is parallel to the record surface when playing.
Were the tracking force too light, the stylus might not track properly, leading to skipping. If it’s too heavy, it can cause excessive wear on both the stylus and your records.
Step 5: Set the Anti-Skate Control
- Anti-skate keeps the tonearm from pulling too hard to one side, ensuring even playback.
- Set it to the same value as your tracking force (e.g., if tracking force is 2g, set anti-skate to 2).
- If you experience distortion on one channel, adjust anti-skate slightly to find the best setting.
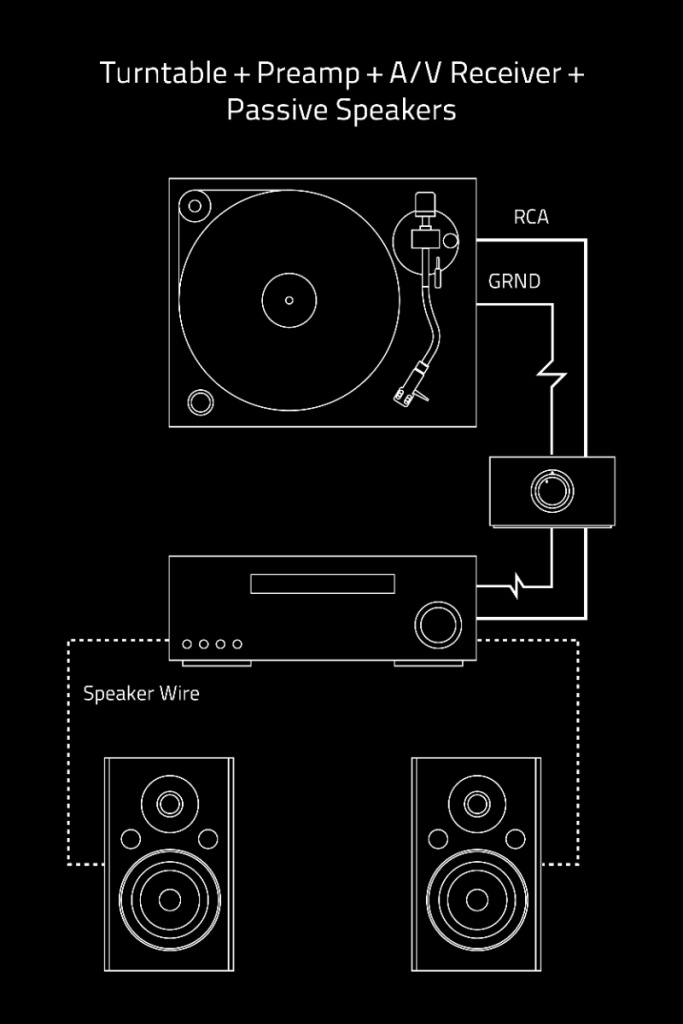
Step 6: Connect Your Turntable to a Preamp or Speakers
- Some turntables have a built-in preamp (look for a “Line/Phono” switch). If your turntable has one, set it to “Line” if connecting directly to speakers.
- If not, you’ll need an external phono preamp to amplify the signal before connecting to an amplifier or speakers.
- Use high-quality RCA cables to reduce signal interference and maintain clean sound.
- If you’re using powered speakers, plug the turntable output directly into them, provided they support phono-level input.
Step 7: Adjust Speed and Check Sound
- Most record players have 33⅓ RPM (for LPs) and 45 RPM (for singles) speed settings. Some also support 78 RPM for shellac records.
- Use a strobe disc or app to check speed accuracy. If your turntable has adjustable pitch control, fine-tune the speed to match the intended playback rate.
- Place a record on the platter, start the turntable, and lower the stylus gently. Avoid dropping the needle abruptly, as this can damage both the stylus and record.
- Listen for any distortion—if the sound isn’t right, check tracking force, anti-skate settings, and ensure your stylus is clean.
Step 8: Keep It Clean!
- Clean your records before playing to prevent dust buildup. Even new records can have dust or static from the pressing plant. For a detailed guide on the best cleaning methods, check out our post on how to properly clean records.
- Use a carbon fiber brush to clean the stylus occasionally. A dirty stylus can affect sound clarity and cause skips.
- Store your records vertically in sleeves to avoid warping. Never stack records flat, as this can lead to warping over time.
- If you notice excess static, consider using an anti-static record brush or a humidifier in the room.
Enjoy Your Vinyl!
With your record playerproperly set up, you’re ready to enjoy the warm, rich sound of vinyl records. Over time, minor adjustments may be needed, but this setup will give you the best possible sound from your collection. Taking care of your records and equipment will ensure you get the best performance for years to come.
If you’re interested in upgrading your setup, consider exploring higher-quality cartridges, isolation platforms, or external preamps to further enhance your sound experience.
Happy spinning!
Leave a Reply
You must be logged in to post a comment.